To plan your Science Day Camp, first, decide the theme.
Pick a theme based on the categories below or come up with your own.
You may focus on one branch within science (Chemistry or Life Science, for example), or combine several branches in one unit study.
Try out each activity before deciding to use it for the Science Day Camp.
Determine if kids will need help with the project and line up adult helpers as needed.
Consider how many students will there be as well as age range and abilities and plan activities accordingly. Pair older and younger kids, if necessary.
These experiments are ideal for a Science Day Camp because only a few items are needed for each project.
There are also many printable worksheets you can use!
Please remember to credit Home Science Tools if you reproduce any ideas or content from our website.
Plan exactly how many hours you will teach; summer camps allow for the greatest flexibility.
For elementary-school students, no more than 3-4 hours will work best. You can start in the morning, take a break for snack, and end around lunchtime.
Be sure to account for the weather.
Science Day Camp Themes and Projects
Unit Studies
- Force and Motion
- Make a Kite – this print-out template includes directions for making (and flying) a small kite. Kites teach children about lift and drag and introduce the principles of flight.
- How Do Things Fly? – use this worksheet to teach students about flight! They can color in the pictures as they learn about lift, thrust, drag, and weight.
- Balancing Coins – to perform this demonstration of gravity, you’ll will need a ruler, marker or highlighter, and several pennies for each student.
- Make a Paper Flying Machine – build a glider that flies even farther than a paper airplane and illustrate the principle of thrust in an unforgettable way.
- Swing Science – take students out on the playground with a stopwat for an exciting force and motion experience.
- The Five Senses
- Are Two Eyes Better Than One? – teach about the science of seeing with just a few household items.
- Sense of Touch – find information about touch, ideas for science projects, and fun facts!
- Taste Test – find out about how taste and smell work together.
- Sweet Science
- Homemade Ice Cream – no special equipment required! A few ingredients and extra hands to help will yield your own ice cream (and butter).
- Marshmallow Fun – learn what makes marshmallows puffy and make a special play dough out of marshmallow cream and peanut butter.
- Cocoa Butter Concoction – melt chocolate chips then let students see how chocolate looks as it cools. You will need several adult helpers for this project.
- Hot Chocolate Solvent – how does cocoa powder turn into the tasty liquid we like so much? This project uses solid chocolate bars to explain how something dissolves and what a solvent is. When doing this with a group of students hand out small pieces of chocolate, and have adult helpers on hand.
- Types of Rock – serve ice cream and hot fudge while making it into a science project about rocks! You will need a small amount of dessert for each child, aluminum foil, and a rolling pin to study Igneous, Metamorphic, and Sedimentary rock types.
- Sun and Sky
- Sunny Skies – show why the sky looks blue and the sun looks yellow with this simple project. Measure a few tablespoons of milk into a clear container of water (the bigger the container the better this will work). Go into a darkened room, and hold a flashlight up to one side of the container. It will appear blue (much like the sky looks blue, as light bounces off particles). If you have someone hold the light, and look at it from the other side, it looks yellow (like the sun appears to us). Have pairs of students come up and try the experiment out for themselves! Warn elementary students that you will be turning off the lights beforehand.
- Absorb or Reflect – learn about the power of the sun! You will need to do this project on a sunny day.
- Cloud in a Jar – have students work in pairs or small groups to make their own miniature cloud! You will need clear jars, water, ice, black paper, and an adult to light the matches.
- Solar Hot Air Balloon – use a trash bag to create a super fun balloon that really floats!
Branches of Science
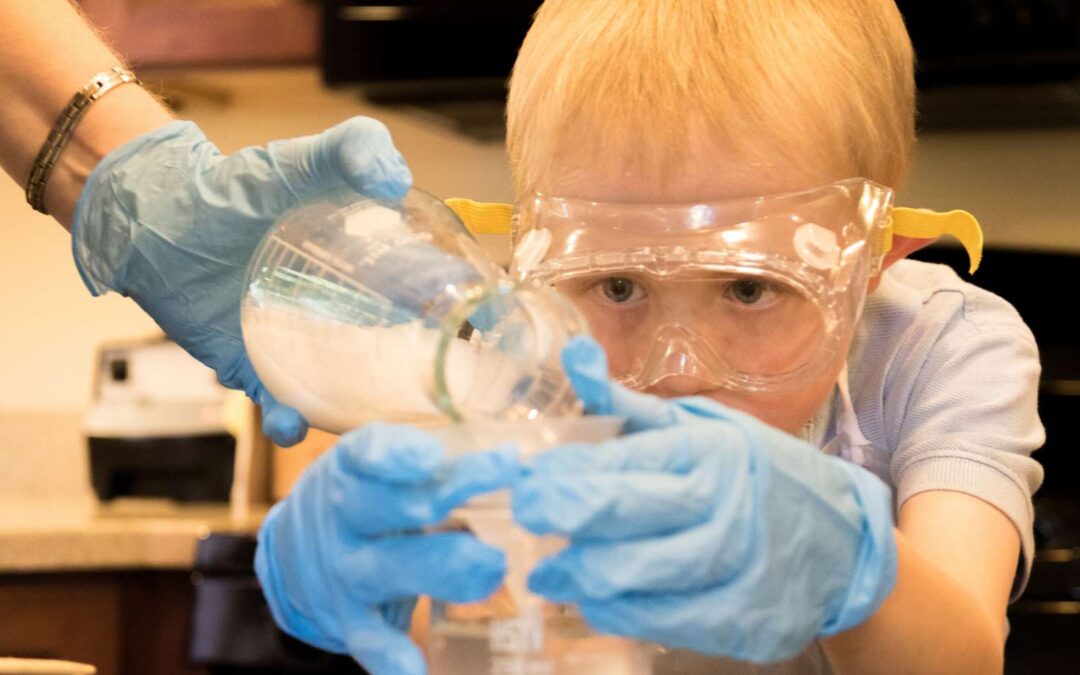
- Chemistry
- Slime Time – use Elmer’s glue, borax, and water to create a slippery substance! Add food coloring, if desired. We recommend having wipes on hang; adult helpers necessary.
- Jell-O Play Dough – create a colorful and unique dough for kids to play with using a few household ingredients! This project is a great opportunity to teach kids about chemical reactions.
- Bubble Science Projects – make your own Super Bubble Solution with liquid dish soap and glycerin. Kids will love experimenting with ways of creating different bubbles and learning fun tricks!
- Bubble Blowing Worksheet – turn blowing bubbles into a science learning adventure with this worksheet! Students can also color the pictures on the page.
- Up, Up and Away! – this project uses a chemical reaction to inflate a balloon. Elementary kids will enjoy watching as sugar and yeast work together to blow up a balloon in under 15 minutes.
- Magic Milk – this simple experiment will amaze young children and adults alike! Put milk (the higher the fat content the better) into a pie plate or other shallow dish. The milk should just barely cover the bottom surface. Put a few drops of different colors of food coloring into the milk. Put a small amount of dish soap on a Q-tip, and touch it to the center of the milk. Hold the Q-tip in place for 15 seconds to see the colors swirl! Try putting more soap in the dish in another spot. Soap breaks up the surface of the milk, so the colors mix more freely rather than resting on the surface. We recommend demonstrating this project first, then handing groups of students dishes of milk, then help students add food coloring and dish soap.
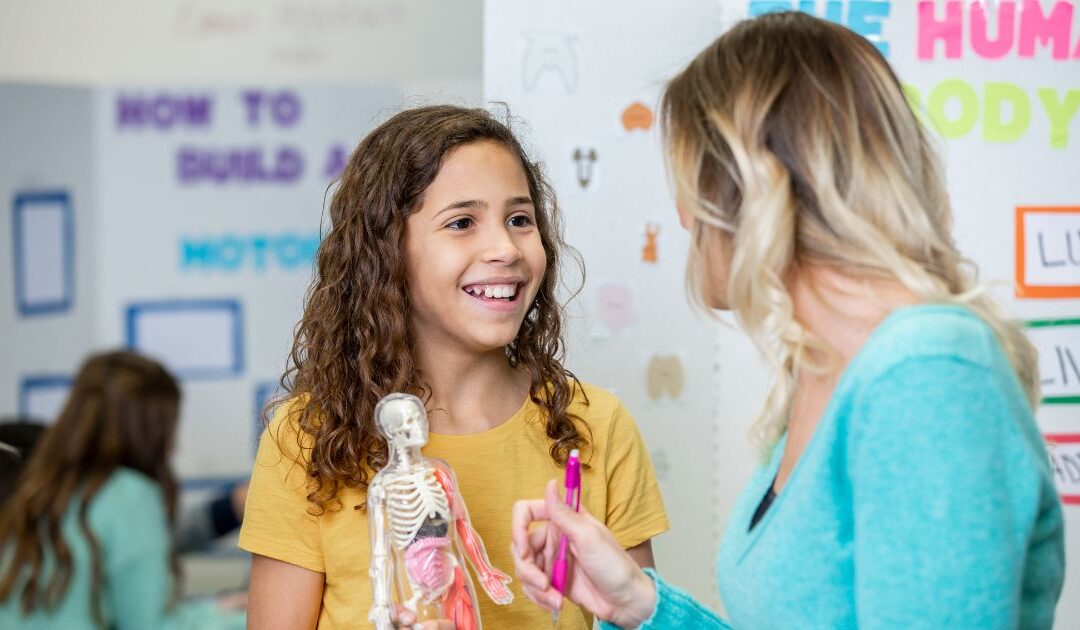
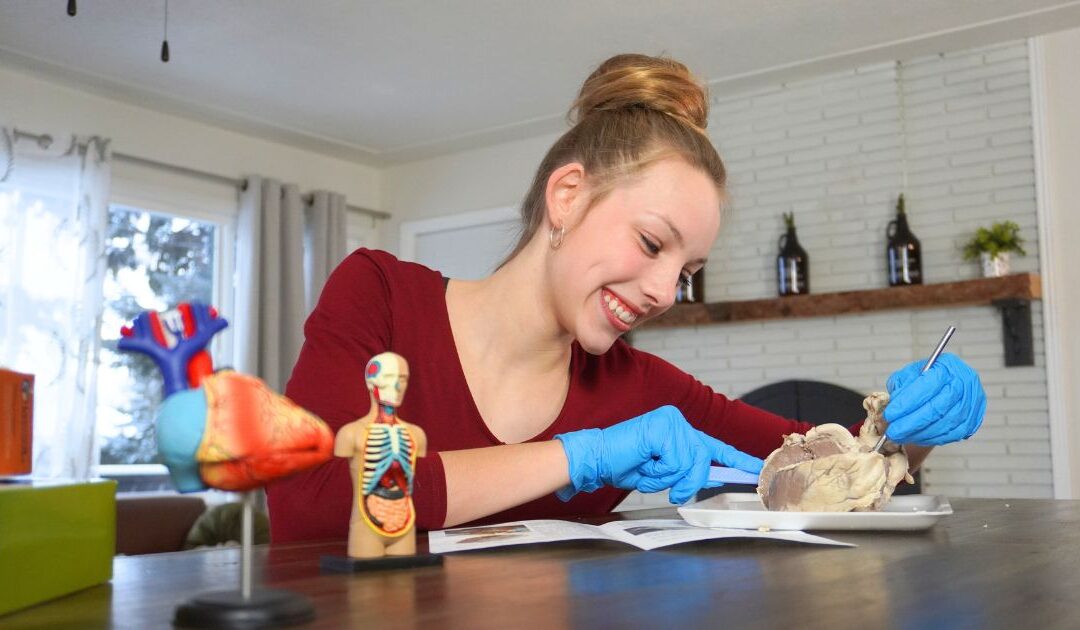
- Life Science
- Beetle Body Parts – make a model of a beetle with movable wings! Each student can have their own worksheet. You will also need 4 brass brads for each beetle. Adults should help children attach the brads. This is a great way to show that insects have three body parts, six legs, and antennae. Best of all, students get to take the insect model home!
- Living in a Tree – find out more about a specific kind of tree and discover all the insects that live there! This activity is perfect for doing with a group of students. Each student will need a magnifying glass.
- Owl Eyes – experience the way an owl sees, and learn how owl’s eyes are different than ours. Each student will need a cardboard tube, such as one from a roll of toilet paper.
- One Small Square Study – use the included worksheet to explore a backyard or park! By having students focus on a small area, they will look more closely at fine details of grass, and spot tiny insects.
- Bark Rubbings – make colorful art from crayons, paper, and the bark of a tree. Have one student hold the paper up to the tree while another student colors, then switch places.