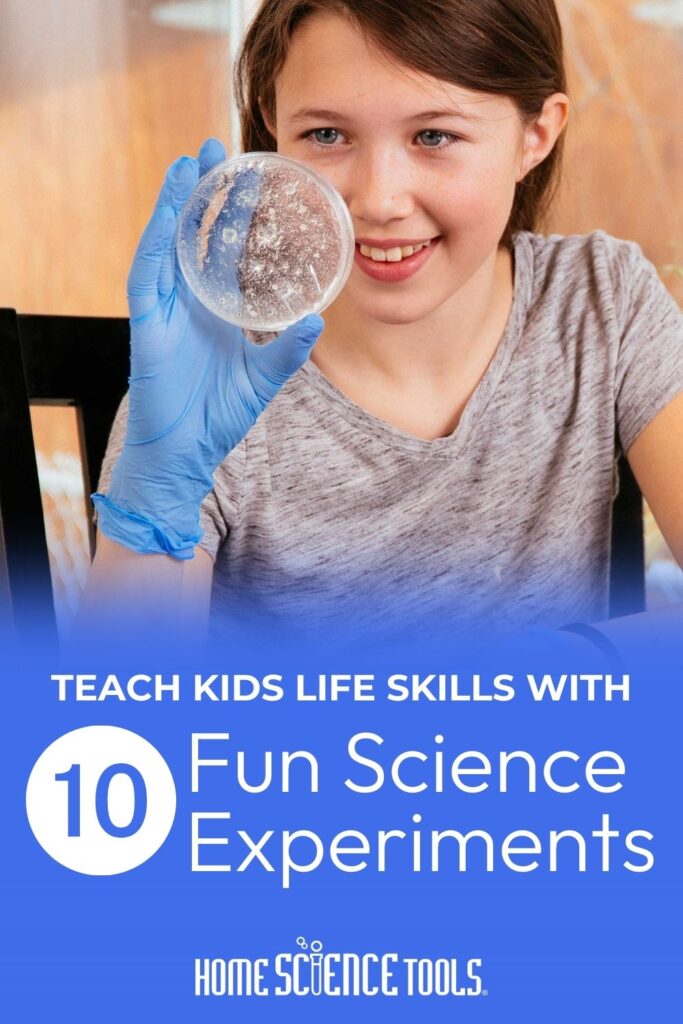
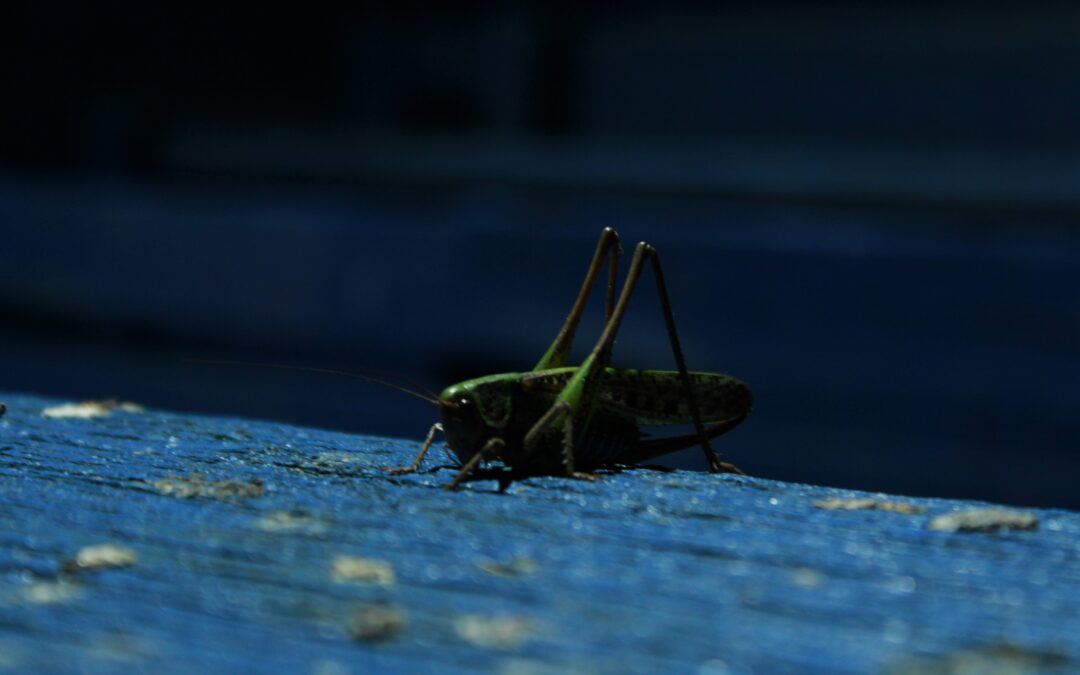
When you work through science with your kids, you want great activities and easy science experiments that will have them fully engaged! Science experiments for kids found in this article will get that reaction! And you’ll find that they are cool science experiments that teach life skills, too. What more can you ask for out of science?
Finding Life Skills in Science
Science study involves the development of important skills, including life skills. For children, learning life skills is a common desire for parents, especially for younger ages who are learning boundaries like rules, preferences, and even gravity!
Science is everywhere and when you teach kids science, you’re teaching them these life skills:
- Safety
- Planning
- Questioning & Critical Thinking
- Creativity
- Curiosity
- Confidence
- Communication
- Analysis
- Flexibility
- Evaluation
- Problem-solving
- Learning from failure
- Working in teams
- Promoting discovery in the learning process
And more! These skills are needed in many areas of life, including work. By teaching science, you are leading your students to be able to work in many different environments effectively.
Before you get started in any of these science experiments for kids, be sure to get adult safety goggles and child safety goggles! You won’t need safety equipment for all of the activities listed below, but having them on hand for all of your experiments is always wise! Now…let’s get to those science experiments!
Fun Science Experiments for Kids
Science experiments for kids are included in most curricula that you might use, especially in the older grade levels. These learning activities often use basic, household items that you can find around your house or from a science supply store online. Many basic science projects you will already be familiar with, like making rock candy or an erupting vinegar volcano. Simple science experiments can range from STEM activities that meet your children’s interests to activities that can be made into science fair projects. They can also be simple DIY projects or pre-made science kits that have all the materials you need.
Science experiments, no matter the level, can teach the scientific method. Whether you actively teach it or not, your students will become familiar with the steps and when you introduce the term, they’ll already feel a familiarity with it.
Let’s get started!
1. Life Cycle of a Frog
This science experiment is a favorite for kids. It provides the opportunity to talk about animal habits and watch a living animal grow through its life cycle! Here’s what you’ll need:
Supplies:
- Tadpoles
- Tadpole food
- Habitat/Aquarium
Note: This is a longer-term project. It will take up to nine weeks for the tadpole to develop legs and about 12 weeks for the beginning of frog development. You can purchase tadpoles or look for your own in ponds, lakes, or rivers.
Instructions:
- Set up the tadpoles in their habitat (make sure you use non-chlorinated water).
- Watch the tadpoles develop from infancy into becoming a frog. Watch for changes in the gills, developing legs, and the loss of the tadpole’s tail. You can also observe the change in the eating patterns of the tadpole as it develops.
Through the development of the tadpole, you can take note different parts of the tadpole/frog and ask & discuss these questions:
- How does a tadpole turn into a frog?
- How do frogs breathe?
- What kind of feet do frogs have?
- How do frogs eat?
Visit our article here about the life cycle of frogs and to get this free printable to go along with this activity!
2. Natural vs Artificial Light for Photosynthesis
This is a science experiment for kids that focuses on natural vs artificial light for the photosynthesis of plants. Light consists of several different wavelengths, each of which produces its own color. These colors are what you see when you run light through a prism to create a rainbow. Sunlight is rich in red and blue hues, both of which are extremely important to plant growth. And artificial light often provides very little energy for plants, but do you know why? Give this a try to find out more.
Supplies:
- Elodea (also called pondweed and available at pet stores)
- Glass jar or beaker
- Funnel that fits inside the jar
- Test tube
- Matches and a wooden splint
Instructions:
- Fill a sink with water and push the beaker down into it. Put some elodea in the beaker and cover it with the funnel.
- Now submerge the test tube in the sink water so that there is no air inside it. While holding it under the water, carefully place it over the neck of the funnel. Don’t let its mouth break the surface of the water.
- Lift the whole apparatus out of the water. You can tip a little water out of the jar so it won’t spill. Set the jar on a sunny windowsill. As soon as the elodea begins to photosynthesize, you will see tiny bubbles appearing on its leaves and then floating upwards into the test tube. These bubbles are oxygen produced by photosynthesis!
- Leave the jar on the windowsill for several hours. The rate of photosynthesis will vary depending on the intensity of the sunlight and other factors, but slowly the oxygen will collect in the test tube.
- When the test tube is about half full of oxygen gas pockets, use a match to light the wooden splint. Gently blow it out again and then immediately lift the test tube straight up and insert the splint up into it, without touching it to the sides of the test tube. The splint should glow brightly, or even burst back into flame! This is proof that the gas you collected is oxygen, which is flammable.
- You can repeat this test with artificial light. Instead of putting your jar in a window, use a fluorescent light or a lamp with an incandescent bulb and see if you get the same outcome as above. Does it take the same amount of time?
3. Composting and Plant Growth
This science experiment for your kids focuses on composting and plant growth. A compost that is mature and relatively free of contaminants, and has favorable physical and chemical properties, should enhance the growth of plants. But there are many questions about the effect of specific composts on plants. Determine the effect of compost on plant germination and growth.
Supplies:
- Pots or planting trays
- Compost
- Soil
- Seeds
- Light source (artificial or natural lighting)
Instructions:
Design your own experiment. There are lots of possibilities, but we’ve listed a few for you here.
• Test various combinations of soil and compost on plant growth. For example, you might want to dig a soil sample from your yard and mix it with various amounts of finished compost for planting experiments. (Natural soil is better than prepackaged potting soils for experiments such as this because the potting mixes are formulated for optimal plant growth and already contain significant amounts of compost or humus.)
• Another possibility is to mix your own potting soil by using vermiculite, sand, and compost. Creating several mixtures using the same percentages but different types of compost is a good way of comparing the influence of the various types of compost on plant growth. For example, you could compare compost at various levels of maturity, compost created using different mixtures of organic wastes, or vermicompost (from worm casings) versus compost created in a thermophilic system.
• If you are interested in investigating the effects of compost tea on plant growth, you could fill the pots with sandy soil or potting medium such as vermiculite, then use compost extracts for watering.
- Plant your seeds, water them, and place them in a well-lit location. Many types of seeds will work, but radish and lettuce grow quickly. Keep pots the same size and in the same setting to minimize variations in environmental factors.
Record your findings daily about which seeds have germinated, any plant growth you see and can measure, and other observations about the plants and their health.*
4. Evaluating Air Pressure
Weather-related experiments for kids are always good choices! This one looks at evaluating air pressure and is relatively easy to do with supervision.
Air seems like the lightest thing in the world, but it actually pushes down on you and the ground with a great deal of force. This force is called air pressure. Air pressure doesn’t always stay the same; meteorologists measure its changes with a barometer. We already saw that when air heats up it begins to rise. When it rises, it doesn’t push on the ground with as much pressure. An area full of light, warm air is called a low-pressure zone. Areas with cool, denser air are called high-pressure zones. What happens when a low-pressure zone and a high-pressure zone are right next to each other? Do this experiment to find out! Have an adult help with the oven and matches.
Supplies:
Instructions:
- Set up the experiment in an area where it will be protected from drafts. If you need to, you can make a three-sided screen by cutting off one side of a cardboard box.
- Pour some sand into one of the pans and put it in the oven to heat it up. (300 degrees Fahrenheit for 5-8 minutes.)
- While the sand is heating up, light a candle and then blow it out. Which direction does the smoke flow? If you have protected your area from drafts, it should flow straight up just like your convection current.
- Fill the second pan full of ice. Put the pan of hot sand and the pan of ice side by side. (Set the hot pan on a potholder!)
- Light the candle again and blow it out, then hold it in between the two pans, right above the edge of the ice pan. Which direction does the smoke flow?
What happened? When you lit the candle the first time you did it in an area where the air pressure was constant, so the smoke flowed straight up. When you set the pans side-by-side, the ice cooled the air around it, creating a mini high-pressure zone, and the sand warmed the air around it to create a mini low-pressure zone. Air always flows from a high-pressure zone to a low-pressure zone to even out the pressure – this is what causes wind. You made a tiny breeze between the pan of ice and the pan of sand, and the smoke floated sideways in the breeze. The same thing happens between cold ocean water and hot beach sand, which is why there is almost always a breeze at the beach!
Look here for more weather-related experiments. Or, get this weather experiment kit that contains instruments for measuring weather and comes with a detailed 12-page weather guide.
5. How to Lift Fingerprints (Science Experiments for Kids in Genetics)
The DNA that a person inherits from their parents determines many personal characteristics and traits, like whether someone is right- or left-handed or the color of their eyes. In this science project, you will examine fingerprints from siblings, as well as pairs of unrelated individuals to figure out if general fingerprint patterns are genetic or random.
Have you ever looked at two people and said, “you must be related”? We can often tell that two people are related because they appear to have similar physical traits. This is because children receive DNA from each parent. All biological siblings are a mixture of both parents’ DNA. If DNA determines fingerprint patterns, then siblings are more likely to share the same fingerprint category than two unrelated individuals are.
Hard surfaces often show fingerprints when dusted with a very fine powder, which is how we will conduct this experiment.
Supplies:
- Microscope slide (or other smooth, flat glass object)
- Fingerprint powder or any fine powder (such as talcum powder, cornstarch, or cocoa powder)
- Fingerprint brush (or any small brush with very soft bristles)
- Clear tape
Note: Fingerprint powder is very messy, so practice with it in a controlled area. Start out dusting a microscope slide to get the technique down and then you can move on to dusting other surfaces in your house.
Instructions:
- Touch a microscope slide or other smooth surface with your finger a few times to leave prints. (If you want, use lotion on your hands for more obvious prints.) Set the slide on a piece of paper before dusting, for easier cleanup.
- Sprinkle a little bit of powder on the microscope slide, then gently wipe off the excess powder with the soft brush, being careful to leave the fingerprint intact. This may take some practice to get right.
- Stick a piece of clear tape over the fingerprint firmly, and then lift it up; the print should adhere to the tape. You can then stick it to contrasting colored paper to maintain a record of the print.
- After you become proficient with dusting a slide, try to test other surfaces like doorknobs or faucets.
- See if you can identify any of the prints you develop. To do this, take the prints of your family members and compare the known prints with the “mystery” prints. Color a couple of square inches on a piece of paper with a pencil have a family member rub their finger on the square to pick up graphite, then have them press their finger down on the sticky side of a piece of tape. Stick the tape to a white sheet of paper and label whose print it is. Compare the known prints to a print you lifted around the room using the procedure on the Fingerprint Analysis Sheet.
6. Bacteria Growth Experiment
Have some fun seeing bacteria grow! This is a very practical science experiment for kids where you can swab just about anything: doorknobs, the toilet, the sink, your phone, a chair, the door, a favorite toy, and more to find bacteria growing in your house! It may very well change the way you see things around you.
Supplies:
- Petri Dishes
- Nutrient Agar, Prepared Media Bottle, 125 ml
- Q-tips
- You can also get this exciting bacteria study kit that comes with what you need!
Instructions:
- Prepare the agar.
- Prepare the petri dishes by pouring some again into them, then let the liquid spread around the surface of the petri dish.
- Use your q-tips or swabs to get some samples.
- Spread it gently onto the agar.
- Add the lid to the petri dish.
- Label it with what you swabbed.
Place the petri dishes out of the way in a dark, room-temperature area. In about 3-7 days you’ll see some growth. So start checking on day three! You could also place them under a lamp to speed up the process. Maybe try it both ways and compare! Here’s a great video showing and explaining the steps to preparing your petri dish.
7. Salty or Sweet (Science Experiments with Kids Looking at Liquid Density)
Looking at liquid density is another great science experiment for kids.
An object’s density is determined by comparing its mass to its volume. There are many science experiments that help us see how various items have different densities. Just as a solid has density, liquids have density, too. (Use a Liquid Density Kit for further study!)
Supplies:
- 3 150 ml beakers
- 10 ml graduated cylinder
- pipet
- water
- salt
- sugar
Instructions:
Will adding salt make the water denser? Will adding sugar make the water denser? Which is denser, sugar water or saltwater? Write down what you think will happen to the density of water if you add salt or sugar.
- Fill three beakers or cups with 150 ml (2/3 cup) of water. Add food coloring to make blue, red, and green water.
- Put 2 teaspoons of salt into the red beaker and stir until the salt is dissolved.
- Add 2 teaspoons of sugar to the blue water and stir until it is dissolved.
Try putting a raisin in each of the beakers. Does it float? Remove the raisins with a spoon.
- Pour some of the red (salty) water into the graduated cylinder. Using the pipet, slowly add the blue (sugar) water one or two drops at a time. Record which color sinks to the bottom and which floats on top.
- Add the green (pure) water drop-by-drop to the other two and record what happens.
Were your predictions correct? Did adding salt and sugar to the water make the water denser or less dense? Which was denser, the saltwater or the sugar water? (Hint: floating level is the least dense.)
8. Slime Time (Science Experiments for Kids Making Polymers)
Polymers! These types of science experiments for kids are always a crowd favorite!
There are lots of different types of polymers, including plastic, rubber, Jell-O, glue, camera film, materials such as nylon, and even natural fibers from wood and cotton. This slime polymer has the properties of a solid and a liquid at once.
Supplies:
- White glue
- Water
- Borax powder
- Large glass beaker or cup for mixing
- Small glass beaker for mixing
- Measuring cup
- Measuring spoon
- Popsicle stick
- Food coloring (optional)
Instructions:
- Measure 1 cup of water into the smaller beaker and add one teaspoon of the Borax powder. Stir it well and set it aside. You just made a solution of Borax.
- Rinse your stirring stick to get all of the Borax solution off of it.
- In the larger beaker, measure 1/2 a cup of water and 1/2 a cup of white glue. Stir it well until it is all mixed together.
- If you want colored slime, add 2-3 drops of food coloring to the glue mixture now.
- Pour the Borax solution that you made into the glue mixture and start stirring. You should see a big clump form in the colored glue right away, but keep stirring until the clump has picked up as much of the liquid around it as it can.
- Now comes the fun part – set your stirring stick aside and pick up the slime with your hands. Keep it over the beaker and knead it like dough, working it between your fingers. As you play with it, the slime will dry off on your hands and will become less slimy and more like putty.
Keep your slime in a plastic zip-lock bag in the fridge when you are not playing with it.
The slime you just made is called a polymer (say: PAUL-UH-MER). The word polymer means ‘many parts.’ White glue is one type of polymer. When you mixed water with the white glue, the glue formed long chains of thousands of little molecules that you couldn’t see until you added the Borax solution. The Borax had a reaction with the glue – it linked all those chains together, which made the whole mixture thicker and turned it into a blob of slime, a different type of polymer!
Find more fun polymer experiments here!
9. Electromagnetic Suction
When my kids were young we did a lot of impromptu experiments with magnets. This science experiment for kids will make your kids feel like they are really learning science.
A single strand of wire produces only a very weak magnetic field, but a tight coil of wire (called a solenoid) gives off a stronger field. In this experiment, you will use an electric current running through a solenoid to suck a needle into a straw!
Supplies:
- drinking straw
- 5 feet insulated copper wire
- 6-volt battery
- Needle
Instructions:
- Make your solenoid. Take five feet of insulated copper wire and wrap it tightly around the straw. Your solenoid should be about 3 inches long, so you’ll have enough wire to wrap a couple of layers.
- Trim the ends of the straw so they just stick out of the solenoid.
- Hold the solenoid horizontally and put the end of the needle in the straw and let go. What happens?
- Now strip an inch of insulation off each end of the wire and connect the ends to the 6-volt battery. Insert the needle part-way in the straw again and let go. This time what happens? (Don’t leave the wire hooked up to the battery for more than a few seconds at a time – it will get hot and drain the battery very quickly)
When you hooked your solenoid up to a battery, an electric current flowed through the coils of the wire, which created a magnetic field. This field attracted the needle just like a magnet and sucked it into the straw. Try some more experiments with your solenoid – will more coils make it suck the needle in faster? Will it still work with just a few coils? Make a prediction and then try it out!
You can find more electromagnetism experiments here.
10. Making Poinsettia pH paper (Science Experiments for Kids with Acids & Bases)
Poinsettia plants practically scream Christmas and in this science experiment for kids, you’ll have a way to use that Poinsettia! So what do you do with them once Christmas is over and the rest of the decor is packed away? Use their red leave for an easy chemistry science project! In this two-part experiment, first you’ll make poinsettia pH paper from poinsettia leaves. Then you can use your poinsettia pH test strips to investigate acids and bases.
Supplies:
- 4-5 red poinsettia leaves
- 400 ml beaker
- 250 ml beaker
- Funnel
- Glass petri dish (or other small, shallow dish)
- Heat source, such as a hot plate, lab burner, or alcohol lamp
- Baking rack
- Cookie sheet
- Scissors
- Water
- Filter paper (or coffee filters)
Instructions:
- Remove 4-5 red leaves from the poinsettia. Use the scissors to cut them into pieces.
- Place the cut up leaves the bottom of the 400 ml beaker. Add just enough water to cover the leaves.
- Use your hot plate, lab burner with stand, or alcohol lamp with stand to heat the water to boiling. Be sure to follow lab fire safety protocol! (You may also use a microwave for this step.)
- Continue simmering a few minutes until the leaves lose their color and the water takes on a deep red tinge. Turn off the heat source. If you’re handling the beaker (removing from the microwave), use caution as the beaker will be hot! Allow the solution to cool.
- Meanwhile, line the funnel with filter paper. To make a cone, take a piece of filter paper and fold in half, then in half again. Pull one layer open to reveal a cone shape that will fit inside the funnel.
- Once the beaker is cool enough to touch, carefully pour the liquid through the filter paper-lined funnel into the other beaker. Remove the funnel and discard the remaining plant material and used filter paper.
- Place another piece of filter paper (or coffee filter) into the petri dish (or other shallow dish)
- Carefully pour the filtered liquid over the paper.
- Remove the now-saturated filter paper from the shallow dish and allow to dry. Consider laying the saturated paper across a baking rack with paper towels or a cookie sheet underneath.
- Once your poinsettia pH paper is dry, cut it into strips. Now it’s ready to use!
Follow the steps in this project that accompany the red cabbage pH test strip experiment to use your poinsettia strips to compare solutions for acidity and alkalinity (basicity). And read this article about acids and bases.
Setting Up a Science Box for Experiments
Of course, there are many more fun science experiments for kids out there. Many call for household products that are easy to come by. When I was teaching, I used to keep a Rubbermaid tub of these kinds of things to have on hand. Many of them could be used in multiple projects, or as needed by my kids for their “passion projects”.
- baking soda
- food coloring (to make colored water)
- shaving cream
- borax
- dish soap
- invisible ink
- ink stamp pad
- lemon juice
- salt (for making saltwater)
- crayons
- beakers (for mixing and when a glass of water is called for)
- marshmallows
- paper towels
- string
- toothpicks
- balloons
- magnets
- clay
- rubber bands
- playdough
- legos
- straws
- syringe
- craft sticks
- marbles
And, of course so much more! You can even use things like a lava lamp that might be sitting around your house. Make this box specific to what interests you and your students.
Have fun doing these fun science experiments for kids!
* Cornell University Plant Waste Management