When parents think of microscopes, they often imagine tiny cells, slides, and high magnification. But a stereo or dissecting microscope offers something different, and for homeschool settings, it can be one of the most engaging science tools you’ll invest in.
A stereo microscope (also known as a dissecting microscope) is designed for observing whole objects or specimens (insects, rocks, leaves, crystals) rather than the ultra-thin slides used in a compound microscope. The magnification is lower (often in the 10× to 40× range) and provides a three-dimensional view of the sample.
Because of its larger working distance (the space between the lens and the specimen) and its ability to handle opaque objects (those that light can’t easily pass through), it’s a fantastic choice for younger learners and hands-on nature exploration.
In short: if your child wants to pick up, look at, turn over, and wonder about physical specimens in real space, a stereo microscope brings that to life.
Why Dissecting Microscopes are Great for Homeschool Science
Fosters curiosity and exploration
With a stereo microscope, children can move beyond textbooks into real, tangible investigation. They can examine the structure of a leaf, watch how a crystal forms, observe an insect’s wing, or explore how soil particles differ from one region to another.
This hands-on engagement builds curiosity, questions, and excitement, not just passive reading.
Builds observational and scientific thinking skills
Using this tool, kids learn to look closely, ask what they see, predict what might happen if they change something, and record what they discover. These are fundamental scientific habits: observation, hypothesis, experiment, and reflection. A stereo microscope provides them with space to develop these skills in a playful yet serious way.
Accessible for all ages and manageable for parents
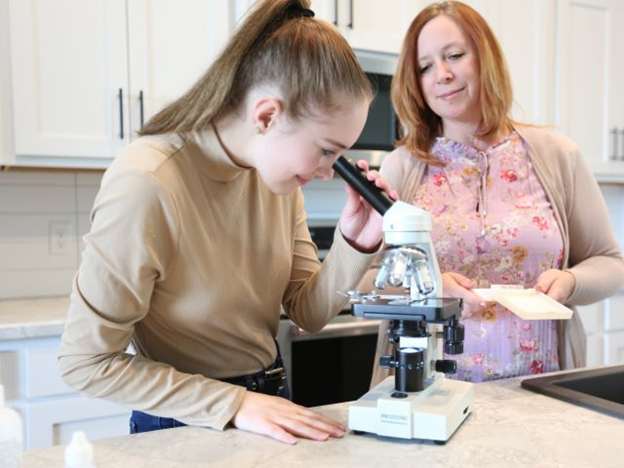
Because magnifications are modest and the specimens are visible in real space, a stereo microscope is less intimidating than high-powered lab equipment. That means you, as a parent, can facilitate without being a microscopy expert. The setup is more forgiving. As one homeschool resource notes, placing the specimen, turning on the light, and adjusting focus is very doable at home.
Integrates well with nature study, earth science, biology, and more
Whether you’re studying insects, rocks, plants, crystals, pond water, or feathers, a stereo microscope covers a broad cross-section of science topics. That makes it a powerful investment for a versatile homeschool science program. The possibilities for nature study alone are rich.
Encourages persistence, attention to detail, and patience
It isn’t just about “what it looks like,” it’s about how it changes, what you notice as you move it around, and sometimes what you discover by accident. Those virtues: patience, attention, follow-through, are exactly what make good scientists (and good learners). And a stereo microscope gives the right kind of experience for that.

How to Use a Dissecting Microscope With Your Child
Here’s a step‐by‐step approach you can share with your child:
Set the scene
Place the microscope on a stable table or desk where there’s enough space for the specimen, tools (tweezers, petri dish, etc.), and your child’s notebook. Make sure cords are tucked so nothing is pulled accidentally.
Switch on the illumination
Many stereo microscopes have both top (reflected) lighting and bottom (transmitted) lighting. For opaque specimens (rocks, insects, leaves), you’ll use top lighting so light reflects off the surface. For thin, transparent items, you might use bottom lighting.
Position the specimen
Place the specimen in a petri dish or a clear tray, if available (especially if it might shift or if there’s liquid). Center it under the objective. If it’s large, you may slide it gently until it’s viewable.
Adjust the eyepieces/interpupillary distance
Because stereo microscopes have two eyepieces, you’ll want to adjust the distance between them so your child sees a single coherent image rather than two overlapping circles. This ensures comfortable viewing.
Focus on the specimen
Using the focus knob, slowly bring the specimen into view. Start with the lowest magnification setting (which gives a wider field of view) and, if needed, increase magnification. Remind your child: only part of a 3D specimen may be in focus at once; objects that protrude will require slight refocus as you move or tilt them.
Explore and record
Encourage your child to look around the specimen: rotate it, tilt it, change the lighting angle, move from edge to center, and note textures, colors, and patterns. Then have them draw or write what they see, and ask, “Why might this be this way?” or “What if I change the lighting angle?”
Clean up and store
When done, turn off the light, remove the specimen, cover the microscope with a dust cover (if provided), and unplug or tidy cords. Clean eyepieces gently with lens paper if needed. Good care ensures the microscope stays reliable for years.
What Kinds of Things Can Kids Explore With It?
Here are some exciting specimen ideas that work well with a stereo/dissecting microscope, many of which you can integrate into your homeschool science time:
- Insect parts: wings, antennae, legs of beetles or butterflies; the 3D view helps kids see structure and symmetry.
- Plant samples: underside of leaves, plant stems, seed pods, root hairs; exploring variation across species.
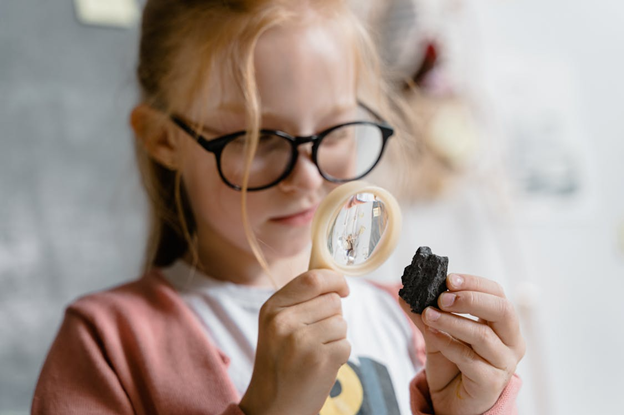
- Rocks, minerals, crystals: observe shapes, inclusions, color changes, and compare different regional samples.
- Small fossils or shells: texture, ridges, whatever mysteries the specimen holds.
- Everyday objects up‐close: fabric weave, hair strands, grains of sand, coins, excellent for building observational skills.
- Live or semi‐live specimens: pond water, tiny insects, though one must supervise time and light to avoid harming live creatures. (Using a petri dish helps.)
- Dissection tasks: If older children are doing dissections (flowers, simple animals, anatomical models), this microscope can make the process richer, offering a magnified yet manipulable view.
The breadth is wonderful: one device supports biology, earth science, nature study, even engineering or materials exploration.
Find the Right Dissecting Microscope For Your Homeschooling Needs
Investing in a dissecting microscope opens a wide range of educational opportunities. For your child, it offers the chance to see the small wonders, to explore rather than just read, to wonder rather than just memorise. For you as a parent and homeschool facilitator, it provides a tangible tool that supports curiosity, scientific thinking, and meaningful hands-on learning.
If you pair it with good specimens, prompt questions, journaling, and alignment with your broader science curriculum, it becomes one of those tools that not only lasts for years but keeps giving value across ages. We invite you to explore our selection of microscopes here at Home Science Tools to find the perfect match for your needs.