If you’ve ever been to the beach, you’ve probably picked up rocks that are perfectly smooth and rounded. The ocean is a natural rock tumbler: as rocks are rolled by the waves and rubbed against sand and each other, their rough edges and corners are filed away. Learn how to polish rocks like the ocean!
A rock tumbler can mimic this process and even take it a step further by adding polish to make the stones shine. Rock tumblers work much faster (4-6 weeks) than the rock cycle steps of the ocean because their motion is constant. They also use an abrasive substance called silicon carbide, which is much harder than sand.
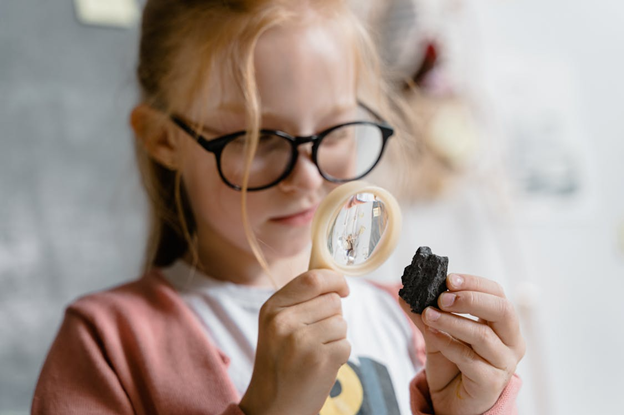
Lapidary is the art of cutting and polishing gemstones. Rocks and minerals come in all different colors and patterns, and polishing them to a smooth shininess brings out their incredible beauty. Polished rocks are often used in jewelry.
Polishing Rocks
What You Need:
Selection:
When selecting rocks to polish in a tumbler, there are several things to consider:
- Size: You should include a mix of sizes in your tumbler, from 1/4″ to 1″. The smaller stones rub up against all the contours of the bigger stones, ensuring a uniform shaping.
- Hardness: All the rocks in a batch should be around the same level on the Mohs hardness scale. The scale runs from 1 (talc) to 10 (diamond) and at each level a mineral can be scratched by something of the same or higher level, but nothing lower. If you tumble rocks of different hardness, the softer ones will be worn down too much and the harder ones not enough. If your rocks scratch each other equally, they are around the same hardness. The ideal hardness for tumbling is between 5-7. You can test the hardness level of your rocks using a set of Mohs minerals, or by trying to scratch them with a pocket knife (hardness 5.5) or a steel file (6.5). Harder rocks will take longer to tumble than softer ones.
- Surface shape: Try to tumble rocks with similar surfaces. Rocks that already have rounded edges will need less time in the tumbler than rocks with sharp edges, so you should tumble them in different batches.
- Beauty: Pick rocks that have colors and patterns that you like, especially when wet. (Polished rocks look similar to what unpolished rocks look like when wet.)
Tumbling:
Your rock tumbler will come with full instructions, but here are the basic steps to polishing a set of rocks:
- Fill the tumbler barrel 1/2-3/4 of the way full of rocks. The rocks lose a lot of their mass in the tumbling process, so if you start out with too few they won’t tumble properly later on. If you have the barrel too full, the rocks won’t be able to move enough to be shaped properly.
- Add the coarse grit and enough water to come up just to the bottom of your top layer of rocks. Together the grit, water, and rock particles that are worn away are called a “slurry.”
- Make sure the barrel opening and lid is clean and dry so it seals properly, then begin tumbling. Carefully open the barrel after about 24 hours to release any gas that has built up inside and to check that the slurry is forming. The slurry will look like a creamy dark gray mixture.
- Let the rocks tumble in the coarse grit for 6-7 days, checking periodically. After a week, remove the rocks and thoroughly clean them and the barrel of all grit. Warning: do not rinse the slurry down any household drain! It will harden like concrete in your pipes. Put it in a disposable container and throw it away.
- Sort through your batch of rocks and remove any that have cracks, chips, or pits. If they have any cavities where grit can get stuck, they will contaminate the future steps.
- Repeat these steps with the remaining stages of grit/polish, cleaning the rocks and barrel between each step. (For harder stones, you may need to repeat the coarse grit step if they aren’t shaped by the end of the first week. You need to repeat with new grit, because the grit loses its abrasiveness after a week.)
- By the end of 4-6 weeks you will have smooth, shiny, and beautiful stones!
- You can display them in a display case or vase, or use jewelry wire to make pendants and other jewelry.