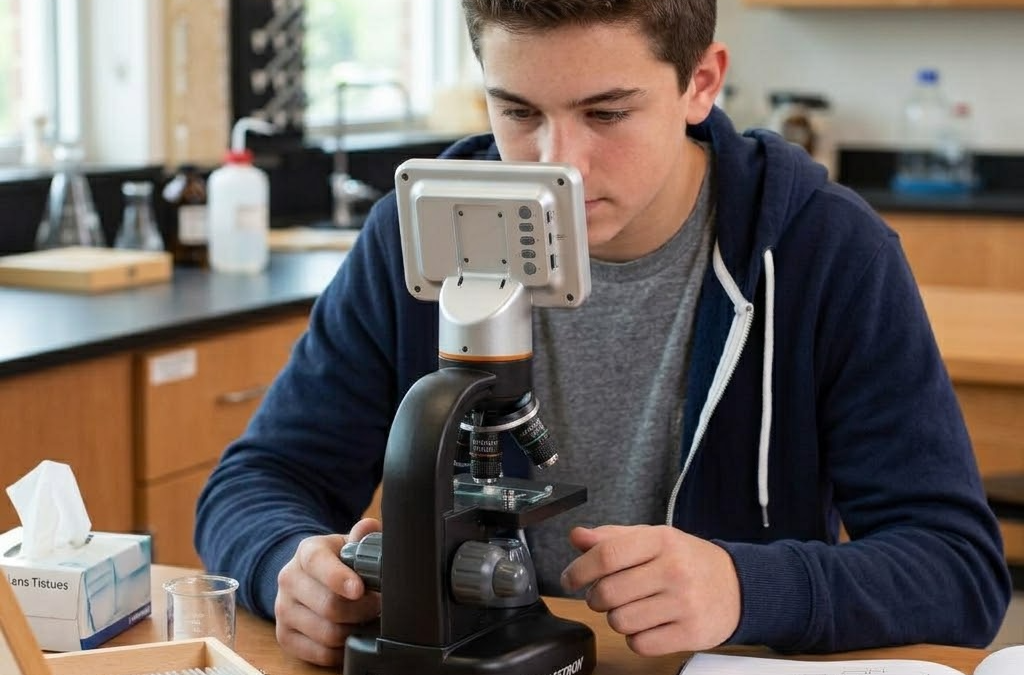
Meteorology for kids becomes much more meaningful when students can see and test how the weather works for themselves. After all, understanding the weather isn’t just about checking an app. It’s about recognizing patterns and observing changes.
That’s exactly what happens in the Feeling the Pressure activity from Science Unlocked®. The Feeling the Pressure activity is one part of Science Unlocked, a full-year science curriculum designed to make teaching science easier and more effective. Instead of memorizing terms like air pressure or wind, students experience them through hands-on investigation—and then apply what they’ve learned to put together their own weather report.
What Is Meteorology—and Why Does It Matter?
Meteorology is the study of the atmosphere and how it creates weather. It focuses on how temperature, air pressure, and the movement of air work together to shape daily conditions.
Students often hear that warm air rises or that pressure changes cause wind, but those ideas can feel abstract. When students test these concepts themselves, they begin to understand why and how weather changes.

Meteorology for Kids: Air Pressure in Action
The Feeling the Pressure activity helps students observe how changes in temperature affect air pressure using a simple setup.
What You’ll Need
- Plastic bottles (2)
- Water
- Refrigerator
- Marker
Instructions
- Label one bottle “hot” and the other “cold.”
- Then, fill the “hot’ bottle with about 100 mL of hot water. Let the water run until it is clearly hot before filling.
- Tighten the lid and gently swirl the water to warm the air inside the bottle. Place it in the refrigerator.
- Fill the “cold” bottle with about 100 mL of cold water. Let the water run until it is fully cold before filling.
- Tighten the lid, swirl the water to cool the air inside, and place it in the refrigerator.
- Wait 10–15 minutes, then remove both bottles and observe what happened.
How This Connects to Weather Patterns
When the air inside the bottle cools, it contracts. This lowers the pressure inside the bottle. The air pressure outside is now higher, so it pushes inward, causing the bottle to shrink.
The bottle that started with hot water shows a more noticeable change because the temperature difference is greater.
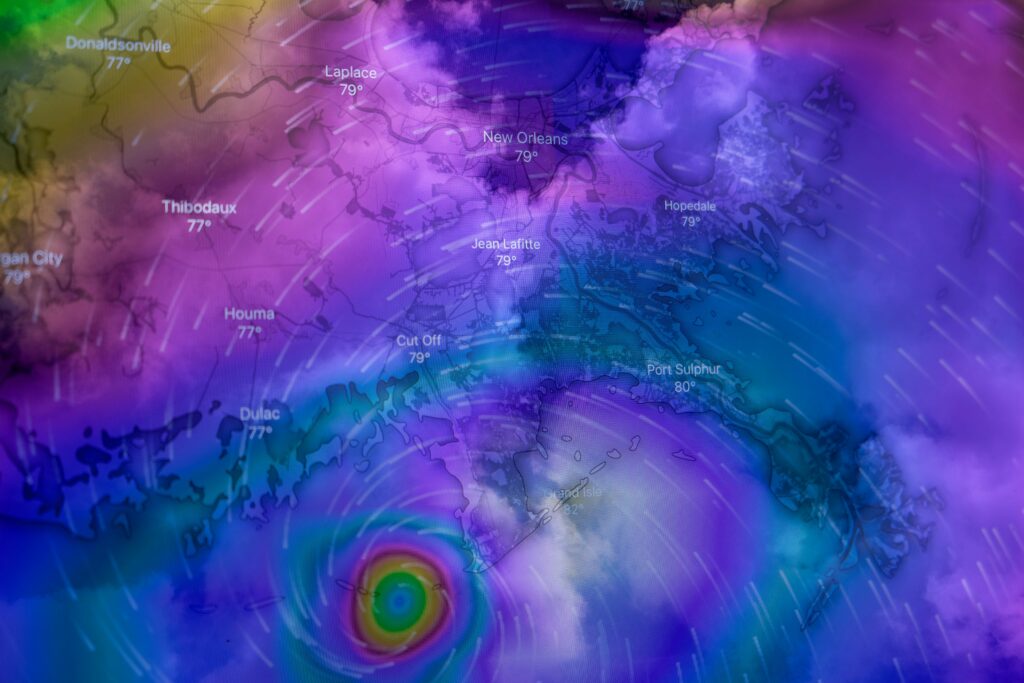
This is the same principle that drives weather patterns. When warm air rises and cools, pressure shifts. Air moves from areas of high pressure to low pressure, and that movement becomes wind. Over time, these changes influence clouds, storms, and daily weather.
This experiment gives students a way to see those changes happen instead of just hearing about them.
Putting Together a Weather Report
After completing the activity, students can use what they observed to put together a simple weather report. Have them:
- Observe the weather over several days
- Record temperature, wind, and cloud patterns
- Use what they learned about air pressure to explain those changes
At this stage, students will be more comfortable with interpreting the weather. They start thinking through what might be happening in the atmosphere and why.
How It All Comes Together
Each lesson moves students from simple observations to more developed thinking across multiple areas of science, including meteorology for kids. Ideas are introduced, then reinforced through related activities that help students connect what they’re seeing to how things actually work.
Everything is included—materials, instructions, and structured lessons—so there’s no need to plan or piece anything together. Parents can focus on guiding the experience while students stay engaged in hands-on learning.
Activities like Feeling the Pressure turn concepts like air pressure and temperature change into something visible. Over time, those experiences add up, helping students make sense of how the world around them works.