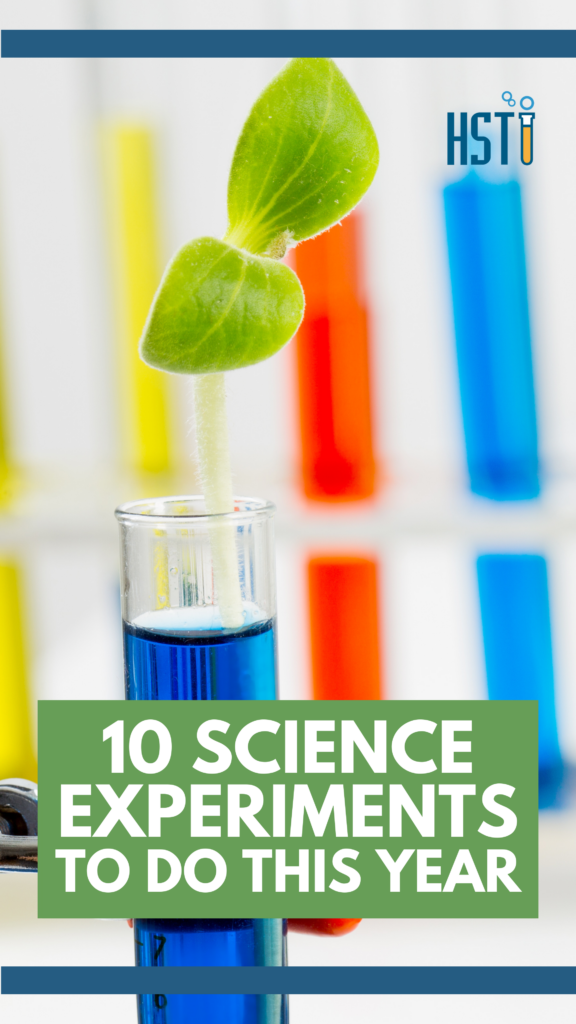
Science experiments are one of the most exciting things you can do in your homeschool or classroom! We’ve put together some thrilling – yet easy – science experiments for you and your kids to do this year.
Please remember to keep safety first and protect yourself with the proper equipment, as needed, when doing any of these science experiments!
Pantry Science Experiments
There are several fun science experiments that you can do with household items you likely have stocked in your kitchen pantry!
Science with Oobleck
“Oobleck” is a fascinating non-Newtonian fluid (it is a fluid that does not follow Newton’s law of viscosity) that has the ability to act like a solid OR a liquid — depending on the conditions it’s under. Making oobleck and playing with it can be relaxing for both kids, teens, and adults! It’s fascinating stuff that you have to make at least once in your lifetime.
It’s super easy to make, using the following ingredients:
- 1 cup of water
- 1.5 to 2 cups of cornstarch
- A few drops of food coloring (optional)
Use a mixing bowl for this one. Add the water first, then start adding the cornstarch to the water little by little. Try stirring it at first and it’ll be fairly easy—but soon you’ll need to switch to using your hands! When you’ve added about 1.5 cups of cornstarch, add in the other half cup slowly and in less quantity at a time. You’re looking for consistency now: solid when you push on it or squeeze it and liquid like slime when left alone.
You can always add more water to it if you add too much cornstarch or you can add more cornstarch if you have too much water. Oobleck is a great addition to your fun science experiments list for younger kids (and older ones, too).
Pepper and Water
Have you heard of this one before? It’s another quick one to add to your fun science experiments list, since you probably have all the ingredients at home already.
This is a great way to learn about the surface tension of water. Here is what you’ll need:
- A shallow bowl or pie plate
- Water
- Dish soap
- Black pepper (ground)
Cover the bottom of the shallow dish with water. Sprinkle some black pepper on the surface of the water. Notice how the surface tension of the water causes the pepper flakes to float.
Now, for the experiment. Stick your finger in the center of the dish. Not much happened, right?
Okay, here’s the fun twist! Imagine those bits of pepper are germs! Ewwwww! Dip the tip of your finger into some dish soap. You don’t need much. Then, stick that finger into the center of the dish. What happened?
The dish soap is formulated to break the surface tension of water — that’s why it’s so great at cleaning our greasy and dirty dishes!
Make An Egg Float
Have you ever done this? It’s like there are two equal camps on this: those who did it as kids and those who didn’t. Here’s how you can incorporate this simple but fun science experiment with your kids!
You’ll need the following:
- Glass cup or jar
- Water (tap)
- Table salt
- Egg
Fill the glass container about ⅔ of the way. Carefully drop the egg in. It sank, right? Now take the egg out. Add in about 5 tablespoons of salt and stir it. Add the egg back in. It should float! If it doesn’t, take it out and add more salt until the egg floats when you add it to the water.
The science takeaway: in water, objects sink when they are denser than the water. By adding salt, you’re making the water denser — so at this point, the water has become denser than the egg and the egg now floats in it. Try some other objects to see what happens!
Experiments with Fire
These are SO much fun! Please take precautions and be sure to have safety measures in place, along with a responsible adult.
Make Some Sparks With Steel Wool
This is a total WOW factor science experiment with just two simple items! You’ve probably burned wood in your fireplace, fire pit, or while camping. Did you know that metals can burn, too? (If you can get them hot enough, of course.) And did you know that fireworks are made from burning metals?
When something burns it’s because a chemical reaction is taking place. That reaction is called a combustion reaction. It happens when a chemical reacts with oxygen and releases energy in the form of light and heat.
Here’s how you can burn iron (in the form of steel wool). You’ll need the following:
- Steel wool (fine grade)
- 9-volt battery
We recommend you grab the following too for safety:
- Safety Goggles
- A cup of water
- A baking pan or metal pan
- A responsible adult
Spread apart the fibers for the steel wool (it usually comes bundled up). Place on a baking pan, metal pan, or surface you feel comfortable placing it on for the next step. Then, grab the battery and just brush the two battery contacts against the steel wool. Then watch what happens! It will fizzle out on its own, but feel free to toss some water on it if you feel safer or want to put it out.
Remember: science experiments like this are super fun, but be sure to take safety precautions!
Fireproof Balloon
I mean, just those two words together make you go — waaaaaa?! This is super neat!
You’ll need:
- A balloon
- Water
- Lighter
For your safety:
- Goggles (Goggles for kids and for adults)
- A responsible adult
While deflated, fill the balloon with water. Then blow it up with air. Tie it off. Hold the balloon in one hand and slowly lower it over the flame source (lighter or candle). What happens? Nothing! It doesn’t pop! How wild, right? If you’re brave, you can even make the flame touch the balloon — and it still will not pop!
The reason a balloon pops under normal circumstances (just air in it) is that the rubber gets super weak when heat is applied to it. But, when you fill the balloon with water — the water is absorbing the majority of the heat! So the rubber doesn’t get quite as hot and therefore doesn’t pop!
Flammable Hand Sanitizer
Post-2020 we know you all have some extra hand sanitizer lying around — so use it to have fun doing this amazing science experiment!
You’ll need:
- Alcohol-based hand sanitizer
- A lighter
For your safety:
- Goggles (Goggles for kids and for adults)
- A responsible adult
Add some sanitizer on a surface (a plate works fine). Ignite the sanitizer on the plate. Notice how beautiful the blue flame looks? It’s almost hard to see if you have the lights on so try shutting the lights off to see it better! If you swipe a finger through the sanitizer on the plate (while it’s flaming) you’ll have some flames on your fingertips. You can put it out quickly by shaking your hand or dipping it in water.
The reason it won’t burn your hands is that the water in the sanitizer has a high specific capacity — and it takes a high temperature to boil water. The water protects your hands as it absorbs the heat.
Remember: science experiments like this are super fun, but be sure to take safety precautions!
Fire Snake
Simple, fun, and super WEIRD! Please have adult supervision for this one.
What you’ll need:
- Baking Soda 1 tablespoon
- Sugar, 4 tablespoons
Use more or less, but you want a 4 to 1 ratio of sugar to baking soda so adjust accordingly.
- Sand
- Long-stick match or long-neck lighter
- Lighter fluid
- Water (in case you need it or want it to put out the flames)
For safety it is recommended you also have:
- Extra water
- An adult
- Goggles (Goggles for kids and for adults)
Add sand to a bowl or large container. Soak the sand with lighter fluid. Separately, mix the sugar and baking soda, then pour it in a pile onto the soaked-in-lighter-fluid sand. Then, light it with a long stick match or a long-neck lighter. Stand back and watch the snake grow!
When this burns, the baking soda gets super hot and decomposes. When it does this, it releases carbon dioxide gas. The lack of oxygen in the sugar from the combustion creates carbonate and water vapor. The CO2 causes pressure and that pushes the carbonate out and forms the snake. If you leave it, it should grow for about 20 min!
Remember: science activities like this are super fun, but be sure to take safety precautions!
Other Science Experiments You’ll Love
Magnetic Fluid
This will remind you a bit of oobleck. One minute the substance is solid and the next it’s liquid. You could say it has a bit of a split personality!
First let’s talk a bit about ferrofluid. Ferrofluid is a liquid with super-tiny magnetic particles floating around inside of it. The particles are attracted to each other so they need to be coated with a special substance that stops them from sticking together (this is how the ferrofluid stays liquid). But when an external magnetic field is present, the particles become magnetized and the ferrofluid becomes a solid!
Want to make your own and play with it? Here is what you’ll need:
- Vegetable oil
- A shallow dish
- Iron fillings (you can get those here or here and you may be able to find them at your local hardware store, too)
- Napkins
- A magnet
Pour some vegetable oil into that shallow dish you have, just enough to make a thin coat on the bottom of the dish. Then, pour the iron filings into the oil and mix until it becomes thick. Kind of like sludge. You’ve officially made ferrofluid! Next, use a napkin to absorb any excess oil — this will also help the ferrofluid become thicker. Tip: attach a magnet to the outside of the dish. It’ll solidify the fluid and let you dab away at the extra oil!
When you attach a magnet to the outside of the dish, the fluid will take its shape. Remove the magnet and it becomes liquid again!
IMPORTANT: don’t pour this down your drain! It’ll probably clog your pipes.
Fun geeky fact: Ferrofluids are used by the military to coat aircraft. It helps them evade radars. Ferrofluids are made by NASA scientists — the same folks who brought you Tang and freeze-dried ice cream! They needed to come up with an idea to confine liquids in space — and that’s how they came up with ferrofluids.
Swab & Grow: Bacteria Growth Science Experiments
Have some icky fun seeing bacteria grow! You can get bacteria from just about anything: doorknobs, the toilet, the sink, your phone, a chair, the door, and more.
You’ll need:
- Petri dishes
- Nutrient agar, bottle, 125 ml
- Pour it into a petri dish, swab any surface, and watch bacteria begin to grow
- Q-tips
- You can also get this complete bacteria kit that comes with what you need.
Prepare the agar according to the directions on the bottle. Prepare the petri dishes by pouring some agar into them, then let the liquid spread around the surface of the petri dish. Use your q-tips or swabs to get some samples from around your house, then gently spread it onto the agar in a zig-zag pattern. Add the lid to the petri dish and label it with what you swabbed.
Place the petri dishes out of the way in a dark, room-temp area. In about 3-7 days you’ll see some (usually colorful) growth! So start checking on day three and then keep checking till you have a full colony growing. What surface resulted in the most? Here’s a great video showing and explaining the steps to preparing your petri dish.
Balloon Rocket
A super simple, fun, and educational science experiment to do with your kids!
You’ll need:
- Balloons
- Straws
- Yarn
Tie the yarn to the back of a chair. Thread the yarn through a straw than to the back of another chair a few feet away. You don’t want the yarn sagging, but you don’t want it super tight either. Tape a fully-blown-up balloon to the straw with two strips of tape. Pull the balloon to one chair and let it go! You’ll see it ZOOOOOM across the yarn!
The way this balloon trick works is the same way a rocket does! Air is providing the power needed to push in the opposite direction, providing thrust.
Other Items to Have on Hand
Science experiments are a dime a dozen on the internet and in homeschool curriculum. In order to be prepared, start a plastic bin as a science box. Keep it stocked with popular experiment items from above and the ones listed below and it will serve you well for spur-of-the-moment activities.
- Borax
- Toothpaste
- Invisible Ink
- Lemon Juice
- Mentos
- Plastic Bags
- A water bottle or plastic bottle
- Polymers
- Rubber Bands
- Marshmallows
- Shaving Cream
- Toothpicks
Of course, this list isn’t exhaustive, but it will get you a good start! In addition to the above, a lava lamp would be good to have on hand too. Keep your eyes open and pick one up at a yard sale!
If you prefer to purchase kits for science experiments, you can find all sorts of kits here. We provide you with the best quality “ingredients” for your experiments and science fair projects alike!
STEM activities are such good learning opportunities for your family! When you combine these with the curriculum you have for science, you’ll find that science becomes an endless amount of fun that everyone will look forward to.