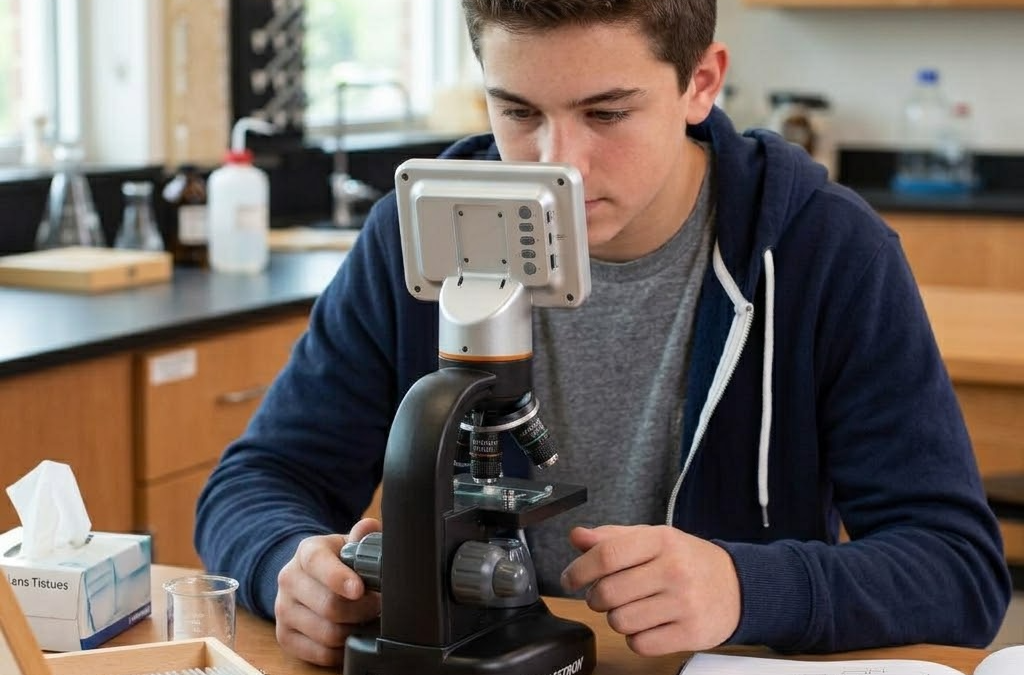
Microscopes reveal fascinating details hidden from the naked eye. A suitable glass slide provides the surface needed to prepare, position, and examine those specimens. In home education and classroom settings, microscope slides support hands-on activities in biology, environmental science, and general science.
At Home Science Tools, we offer blank glass slides designed for clear specimen viewing under high-power microscopes. These slides are made from water-white soda-lime glass, providing a clear surface for preparing samples and observing fine details.
Blank slides also give students opportunities to create their own specimens. Leaves, fibers, pond water, soil particles, and other natural materials can become simple subjects for investigation. The same glass slides can support creative projects, including microscope slide pendants and other crafts.
Microscope Slides and Their Uses
Glass slides serve several purposes, depending on the specimen and activity. Blank slides are especially useful for hands-on science because they let you prepare samples as needed.
Blank slides provide a clean surface for placing specimens under a microscope. They work well for temporary preparations that you can examine immediately after mounting.
Common specimens include:
- Thin pieces of plant material
- Fibers from fabric or natural materials
- Small samples of soil
- Pollen grains
- Pond water
- Hair or other biological materials
- Prepared drops of liquids
The water-white glass used in our slides provides the clarity needed for viewing specimens under high-power magnification. Soda-lime glass also provides a practical material for routine educational activities.
How to Prepare a Microscope Slide
Preparing a specimen can be simple when the material is thin and easy to handle. Clean equipment and careful positioning help produce a clearer view.
Basic Wet-Mount Method
A wet mount is a useful starting point for many classroom and homeschool activities.
- Clean the slide: wipe the glass with a clean, lint-free material to remove dust or fingerprints.
- Place the specimen: position a small piece of the material near the center of the slide.
- Add a drop of liquid: water works well for many basic specimens. A prepared solution may suit other materials.
- Lower the coverslip: place one edge of the coverslip beside the specimen. Lower it gradually to reduce trapped air bubbles.
- Position the slide: secure the prepared slide on the microscope stage.
- Begin with low magnification: locate the specimen before moving to higher magnification.
- Adjust the focus: fine adjustments can bring small structures into sharper view.
Keep the specimen thin enough for light to pass through it. A thick sample can make focusing difficult and may prevent useful details from appearing.
Tips for Clearer Specimens
Simple practices can improve the viewing experience:
- Use small amounts of specimen material.
- Keep the slide and coverslip clean.
- Center the specimen before increasing magnification.
- Use adequate illumination.
- Label slides when comparing several samples.
- Handle glass carefully and keep broken slides away from children.
These steps can turn a basic sample into an organized observation activity. They also introduce students to careful laboratory habits.
Microscope Slide Experiments for Kids and Students
Microscope activities can connect familiar objects with scientific concepts. Natural materials are especially useful because students can collect and compare them during everyday outdoor exploration.
Examine Pond Water
A drop of pond water can reveal small organisms, plant matter, and suspended particles. Place a small drop on a clean slide, add a coverslip, and examine it under the microscope.
This activity can introduce concepts such as microorganisms, aquatic ecosystems, and biodiversity.
Compare Plant Structures
Thin pieces of leaves can provide an introduction to plant cells and tissues. Different plants may show noticeable differences in surface structures, shapes, and patterns.
A simple comparison can involve samples from two or three common plants. Students can record observations with drawings or written descriptions.
Investigate Household Fibers
Fabric fibers offer another accessible specimen. Place small fibers from cotton, wool, or synthetic fabrics on separate slides and examine them at different magnifications.
This activity connects microscopy with materials science and everyday objects.
Explore Soil
Soil contains mineral particles, organic matter, and other small materials. Spread a tiny amount across a slide for observation.
Comparing soil from different locations can encourage students to record differences in particle size, color, texture, and visible organic material.
Create a Specimen Collection
A collection of labeled slides can become a useful long-term science project. Each slide can represent a different specimen, observation date, or location.
For younger students, drawings can accompany each observation. Older students can record magnification, specimen type, preparation method, and observations in a science notebook.
Microscope activities can also extend beyond science. Blank glass slides can become materials for creative projects, including microscope slide pendants and other craft applications. Proper handling and adult supervision are important whenever you use glass materials for crafts.
Where to Buy Durable Microscope Slides for Educational Use
Home Science Tools provides laboratory materials for hands-on science learning at home and in educational settings. Our water-white soda-lime glass slides offer a clear surface for preparing specimens and viewing details under high-power microscopes.
Blank slides can support biology observations, environmental science activities, specimen collections, and creative projects. They are a practical addition to a homeschool science kit, classroom laboratory, or personal microscopy collection.
Explore microscope slides and a wide variety of microscopes here at Home Science Tools to build a hands-on science setup for students and educators.