The scientific method is a problem-solving process used during experiments. It can be modified according to the age and ability of students and also to develop particular skills.
Asking a question is the first step in the scientific method (e.g., Who, What, When, Where, Why, How). You’ll usually find an answer to a broad, simple question. Answers often lead to more questions. It’s here where the scientific method really begins.
In this article, the scientific method is laid out in four steps.
In practice, though, it’s usually not this neat. Scientists and students will often have to repeat steps and start over with the experiment, forming a new hypothesis, and repeating the series of steps. It’s part of the scientific process, the “art of science;” learning is not a sign of failure.
Once complete, the results of an experiment can be used as the starting point for a new experiment to answer new questions. This is called iteration.
Steps of the Scientific Method
Step 1: Start with a question. What do you wonder about? What would you like to know? In the first step of the scientific method, you may need to do some background research to learn more. It can help you define your question and decide what you want to discover.
Step 2: Form a hypothesis. A hypothesis is an educated guess or explanation for what you know. Forming a good hypothesis—a scientific hypothesis—is the starting point for the experiment (and further study). You can prove the hypothesis as observably correct or disprove it through experimentation. Observably, because scientific explanations for the results of an experiment evolve and change.
Step 3: Conduct an experiment, making observations, and tracking results. Set up a test experiment to see if your hypothesis is right or wrong. Make observations during your experiment and keep track of them by writing them down. Often replication of an experiment, in the exact same way, is necessary to be sure of your results.
Step 4: Come to a conclusion. Decide whether your hypothesis was right or wrong. What were the results of your experiment? Can you tell why it happened that way? Explain and communicate your results.
These principles can be used to study the natural world and navigate life’s challenges. You can study anything from plants and rocks to biology or chemical reactions using these four steps. Even very young students can use a modified version of the scientific method to organize their thoughts.
Scientific Method for Younger Students
Younger students can study practical science using a simple version of the scientific method. You can use their natural curiosity to guide them and make it memorable. Try teaching the earliest grades the same steps, but making the language easier to understand.
- Wonder — What do I want to know about the world around me?
- Think – What do I think will happen?
- Act – Test my idea. What happens?
- Say – Am I right?
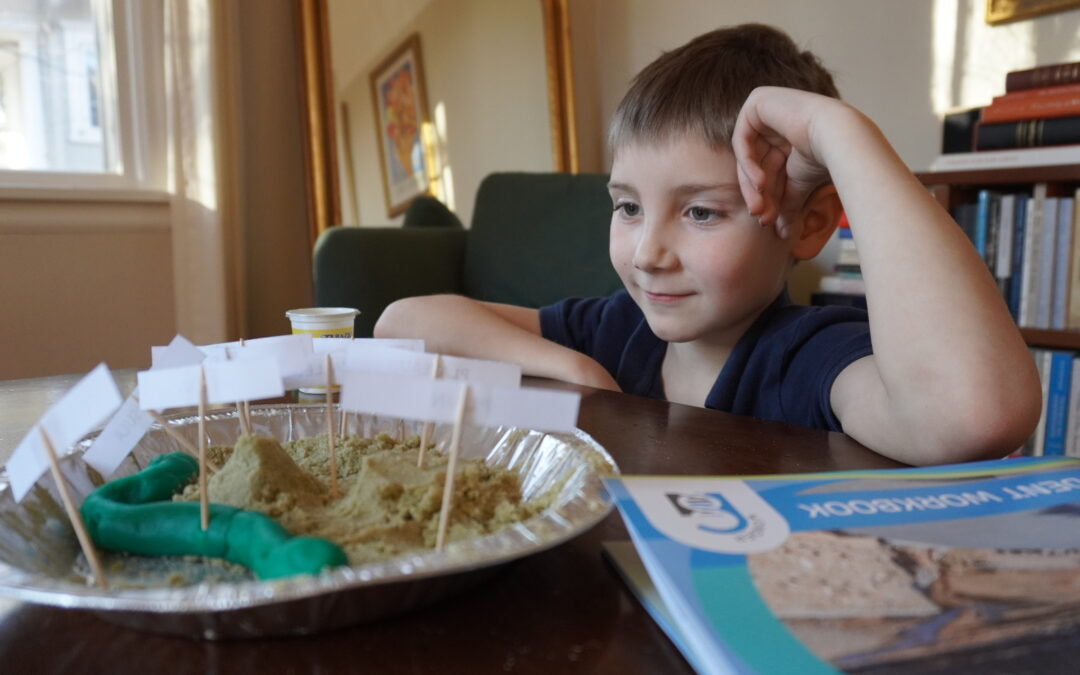
These students can conduct their own experiments to learn about the world around them. For example, young students can study the states of matter by melting ice in the sun and shade. Before beginning, ask a student to predict what will happen to ice placed in the sun vs. ice placed in the shade. Then test his or her idea, check on the ice cubes over time, and ask the student to explain what happened. Was the student right?
In another example, young students could study chemical reactions by adding soap and food coloring to milk. Again, before starting, ask a student to tell you what he or she thinks will happen when you add soap and food coloring to some milk. Test the experiment, watch for a reaction, and ask the student to explain what happened. Was the student right?
Spurred on by their natural curiosity, the youngest students can wonder, think, and observe. From the youngest ages, they can develop the ability to carefully observe and describe what they see in a simple scientific journal. They can begin to develop the critical thinking skills needed to determine whether an experiment turned out how they expected—the beginning of scientific reasoning!
Scientific Method for Middle School and High School Students
Older students can use the steps of the scientific method more independently to complete a science fair project or experiment on a topic in which they have an interest. Interest is key–without it, they’ll get bored.
Guide students’ learning with the following expansion on the last two steps of the scientific method, which require more advanced critical thinking skills.
Conduct an experiment, making observations, and tracking results.
Upper elementary, middle school, and high school students can design experiments to answer questions about the world. The complexity of an experiment will depend on the student’s abilities.
In designing their experiments, these students should pay close attention to:
- Repeating an experiment. To be sure of your results, an experiment will need to be repeated, always in the same way. The more times an experiment is repeated producing the same results, the more reliable it is said to be. Scientific progress depends on reliable experiments independent of the person conducting them.
- Controlling variables. A variable is a part of the experiment that can change. An experiment has an independent and dependent variable. You change or control the independent variable and record the effect it has on the dependent variable. It’s important to change only one variable at a time during an experiment rather than try to combine the effects of variables in an experiment. To ensure confidence in your results, whether proving or disproving your original hypothesis, nothing should change when an experiment is repeated. Everything that could vary, such as the amounts of a substance, the kind of a substance, the time of day, or the environment, should be “held constant” or “controlled.”
Design and perform an experiment to test your hypothesis. For example, if you want to test the effects of light intensity and fertilizer concentration on the growth rate of a plant, you’re really looking at two separate experiments.
- Changing only one variable at a time. All variables in an experiment affect the outcome. That’s why, when comparing experiments, it’s important to change only one variable at a time. This allows you to attribute differences in outcomes correctly. For example, if you want to find out how a plant’s growth rate is affected by water, you would control all variables (soil, light, air temperature) other than watering levels.
- Tracking results. What happened during your experiment? Identify all your variables and keep track of your observations in a science notebook. Once you have all the information recorded (i.e., data), you can start analyzing.
Come to a Conclusion Using the Scientific Method Steps
What was the result of analyzing the results of all your observations? Did your experiment turn out as expected? Was your original hypothesis proven or falsifiable? If your results were surprising, you may not be able to come to a conclusion right away. You may want to reconsider all your variables, change a part of your design, and conduct another experiment, gathering more data. Arriving at a conclusion requires a thoughtful assessment of the results of your experiment. And the more data analysis you can provide is better because every piece of information in both your control group and your experimental group is critical to leading you to draw conclusions accurately.
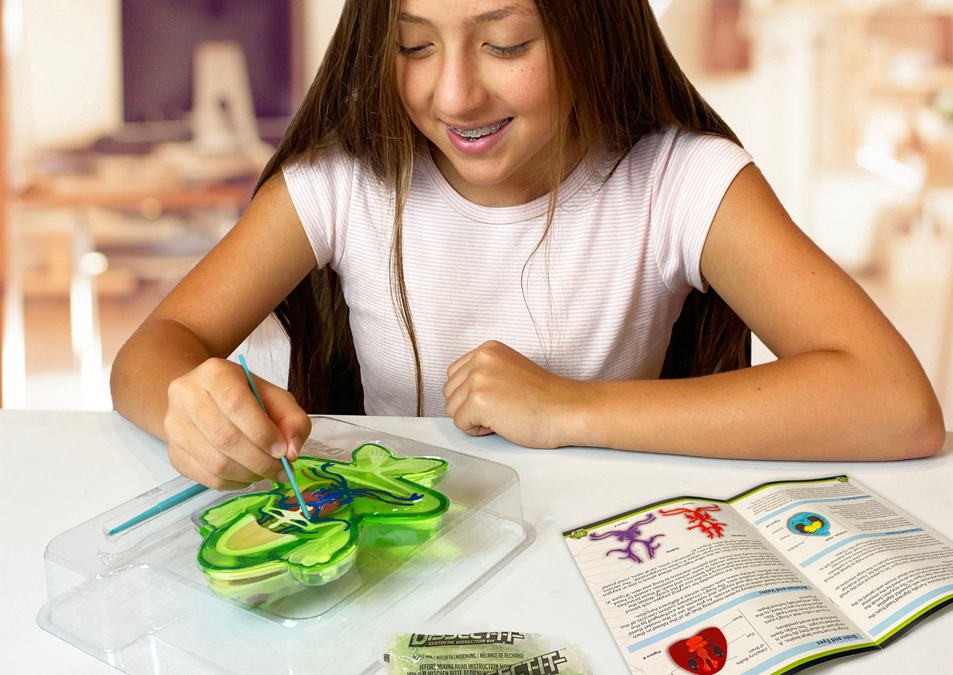
The scientific method begins with inductive rather than deductive reasoning. Deductive reasoning moves from general concepts to more specific information. Inductive reasoning moves from specific facts or observations to a general conclusion. For example, dissecting a flower and examining its individual parts (e.g., ovary, petal, pistil) teaches us about flowers in general. By examining something up close, science uses the critical thinking skills of observing, comparing, contrasting, and analyzing to make a general conclusion.
The scientific method is a powerful tool to turn your questions into new discoveries!