Did you know you can make ice cream in a bag at home? Try this recipe to make this delicious food science recipe with your kids.
What you need:
- 1/2 cup cream (which is higher in fat than milk)
- 2 cups ice
- 1/2 cup milk
- 1/2 cup rock salt
- 1/4 cup sugar
- 1/2 teaspoon of vanilla or other flavoring
- Gallon-size zip lock bag
- Mixing bowl
- Thermometer
- Quart-size freezer zip lock bag
What you do:
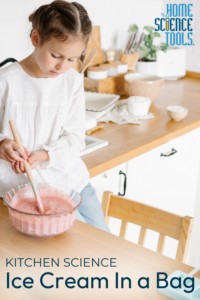
- Stir the cream, milk, sugar, and vanilla together in a bowl until combined.
- Pour the mixture into a quart-size freezer zip lock bag.
- Put the quart-size zip lock bag inside of the gallon-size zip lock bag.
- Half-fill the gallon-size zip lock bag with ice and rock salt.
- Use a thermometer to measure the temperature in the outer bag.
- Next, start shaking the bag to whip the ingredients together.
- After five minutes of shaking, let the bag sit for a few minutes.
- Take the temperature inside the gallon bag again. Has it changed? What happens to the temperature you shake it?
- When the ice cream is thick, get out a spoon and enjoy!
Did you know: Salt lowers the freezing point of water, which causes the ice to melt at a lower temperature. The lower freezing point provides the temperature difference needed to transfer heat between the freezing ice cream ingredients and the melting ice. Rock salt doesn’t lower the freezing point as much as table salt does (so it results in smoother ice cream, because it freezes more gradually), but for this activity you can also try table salt.
Science Lesson:
Ice cream is a colloid, an emulsion where two substances are just suspended within each other rather than being chemically bonded together. This is why many ice creams also have an emulsifier to prevent the fat molecules from separating from the rest of the ice cream (this makes the texture of the ice cream smoother). Ice cream also uses a stabilizer (like gelatin or guar gum) to help hold air into the ice cream, which gives it its light texture. To be officially called ice cream, the colloid has to be at least 10% milk fat and 6% non-fat milk solids (such as proteins).