Rotors and helicopters
Although they aren’t much good for long flights, helicopters can do a few things that other aircraft can’t. A helicopter can be flown backwards or sideways, it can rotate 360 degrees in the air, and it can hover in place! To obtain lift and thrust in order to move, helicopters need different-shaped wings than airplanes do. These ‘wings’ are the rotors (long blades attached to a central shaft) on the top and back of the helicopter. The blades on the top rotor are designed to push air downwards when they are spinning; this results in the helicopter being pushed the opposite way – up. Helicopters also have a tail rotor to provide thrust, pushing the aircraft horizontally through the air.
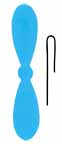 You can demonstrate how helicopter rotors work, using a piece of thin cardboard (from a cereal box or the back of a notebook), a drinking straw, and a paperclip. Cut a propeller shape out of the cardboard (click on the illustration for a pattern); it should be about 5 inches long. Next, unfold a paperclip to form a ‘U’: first unbend the outside end to make one long side, then unbend the inside end to form a shorter side. Poke two holes next to each other in the middle of the cardboard propeller, using a thumbtack or one end of the paperclip. Turning the paperclip so that it makes an inverted ‘U’ over the propeller, slide each end of it into a hole in the propeller. Now slide the paperclip ends into a straw, so that the propeller is firmly attached to the ‘shaft.’ If the propeller slides back out, you’ll need to bend the ends of the paperclip so it fits more snuggly in the straw. You can also use a piece of tape if necessary.
Hold the straw upright between the palms of your hands, and then give it a good spin off into the air by sliding one palm forward as you slide the other one back. You helicopter will go flying off, perhaps hovering for a second before it drops to a landing.
For further thought: Experiment with other propeller materials (you might try cardstock and plastic from a milk carton); which ones carry your helicopter the farthest? What happens if you use two sets of propellers, for a total of four blades? Can you give your helicopter better control by bending the rotor blades so they’re at an angle? Which angles work best?
Make a light bulb
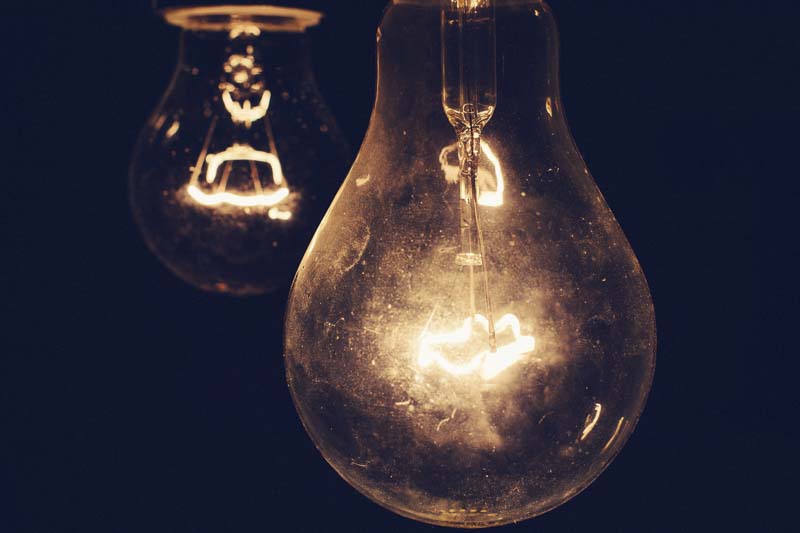
Thomas Edison tried thousands of experiments when he was inventing the incandescent light bulb. You can experiment too and find out how a light bulb really works, by making your own! You will need a pint glass canning jar with a lid, three feet of insulated copper wire, a 6-volt battery, and thin iron wire (unraveled picture hanging wire works great). Adult supervision recommended.
Cut the copper wire in half and strip at least one inch of insulation off the ends of each length of wire. Next, punch two holes in the jar lid. (You can use a nail for this.) Thread one end of the wire through each hole in the lid. Make a hook at the end of each wire (the end that will be inside the jar when you put the lid on). Twist two or three strands of the iron wire together, then twist the ends around the hooks in the copper wire. The iron wire will act as your filament.
Place the lid (with the filament and wires attached) in the jar and carefully connect the free ends of the copper wire to the terminals on the 6-volt battery. Once both ends are connected to the battery, the current should start flowing, causing the filament to heat up and give off a bright orange glow. Your homemade light bulb is working! The light will last for anywhere from a few seconds to a few minutes, depending on your filament. (Note: once your filament is burned out, don’t touch it right away – it will be very hot.)
- You might also be interested in our Make a Pinhole Camera and Make a Vacuum Cleaner projects.