Batteries were invented in the late 1700s, before much experimentation had been done with electricity. An Italian scientist named Luigi Galvani discovered galvanism (direct electrical current produced by chemical reactions) when he stuck a copper hook through a dead frog and then touched the frog with iron. The frog’s legs jerked every few minutes as if it were alive. Galvani thought this was because the frog had some sort of ‘electrical fluid’ in it. Because of this theory, some people tried to bring human bodies back from the dead by sending electric current through them. This was the ‘scientific’ background for Mary Shelley’s classic, Frankenstein.
A few years later, another Italian, Alessandro Volta, figured out that the electricity in Galvani’s experiment came from a chemical reaction with copper, iron, and body fluids and not from some electric property in the frog. Volta experimented with putting two different metals on his tongue (the fact that it hurt meant electricity must be flowing – his tongue had been shocked) and then made a battery cell by placing wet pieces of paper between two different metals.
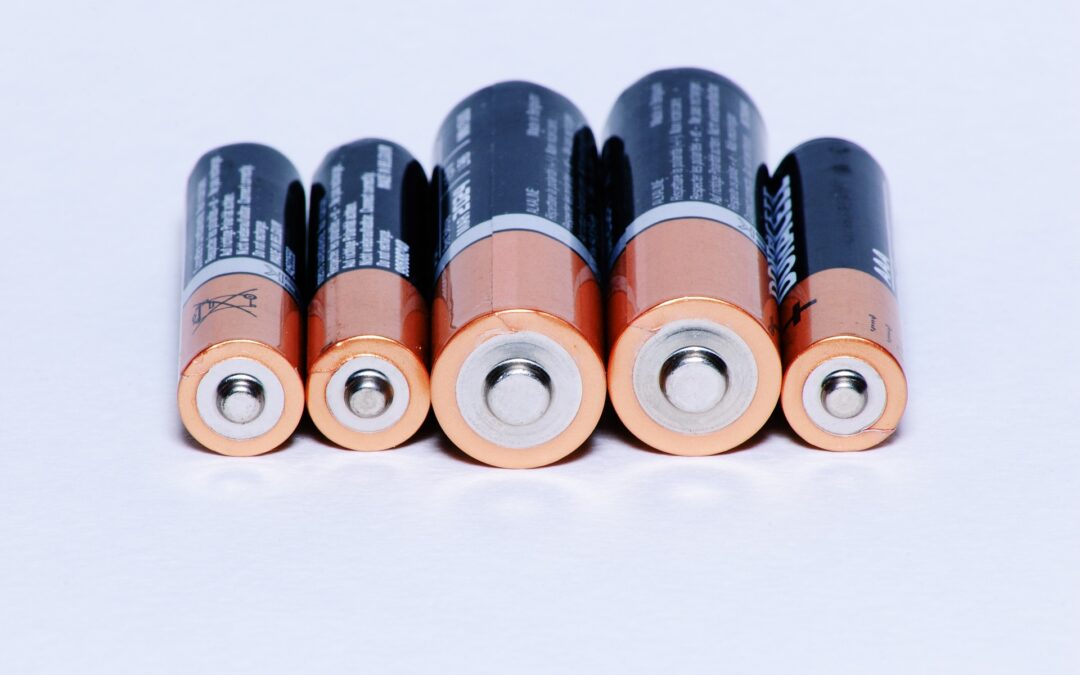
A cell, like Volta made, is the ‘powerhouse’ of batteries. It changes chemical energy into electric energy. A simple cell consists of two metal electrodes with different charges (positive and negative) in a liquid or paste electrolyte solution that allows transfer of electrons between the electrodes. Voltaic cells, named after Volta, use two different electrodes, such as zinc and copper or zinc and carbon, suspended in a liquid electrolyte like sulfuric acid or vinegar. Car batteries are an example of voltaic cells.
You can make a simple battery with some pennies and circles of aluminum foil and wet paper towels (soaked in a salt water solution – try one teaspoon salt to 6 oz. tap water) that are the same size as the pennies. Make your battery by stacking 12 ‘cells’ against each other, each cell made up of one penny, one wet paper towel circle, and one foil circle in that order. Wrap a 8-10′ piece of insulated wire with stripped ends around the battery once and twist the ends together against the battery so that the wire holds the cells together. Next, touch the bare ends of the wire to each end of the battery. If you’re in a dark room, you might see a spark as your battery produces an electric current. Another way to test the battery is with a voltage meter or multimeter. Note that U.S. pennies made before 1982 are 95% copper, but newer pennies only have a 2.5% copper coating. For further experimentation, compare the electric current when you make a battery using only older pennies and one using only newer pennies. You could also experiment with a stronger salt water solution or plain tap water.
Batteries produce electric current that flows in a single direction. This is known as DC or direct current. It’s great for portable CD players or flashlights, but it’s not really all that efficient. Due to resistance, some of the electricity gets wasted. Resistance is the slowing down of electrical current through a substance and turning some of that electric energy to heat or light. Copper has low resistance, which is why it is commonly used to make wire. Plastic, on the other hand, has high resistance. This makes it a good coating to keep electricity from escaping a conducting wire.
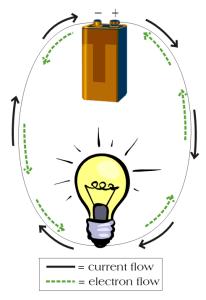
In a circuit, the electrons flow from the negative to positive battery terminals. However, thanks to Ben Franklin’s early theories about electricity, scientists were under the impression that current must flow from + to -, and this way of illustrating circuits stuck. As a result, it is standard to talk of current flowing from + to -.
Electromagnets are temporary magnets that only work as a magnet when electrical current is flowing through them. With some insulated wire and a large nail, you can make your own electromagnet. Loosely wrap a long piece of insulated wire around the nail. Connect the ends to a battery and see what happens.
Does your electromagnet attract any metal objects, such as paperclips? What happens if you set a magnetic compass close to the electromagnet? Experiment with coiling the wire more times around the nail; does that strengthen the magnetic field so that the electromagnet attracts heavier objects? If you have iron filings, you can test the magnetic field produced by the electromagnet. Sprinkle the iron filings on a paper plate, then hold the electromagnet directly underneath. The iron filings will arrange themselves in the pattern of the magnetic field. Electromagnets are used in electric bells, magnetic levitation (maglev) trains, and much more.